Cupping is the brew method we use in the coffee industry to assess the attributes and quality of a coffee. We do this to decide which coffees to buy, how to roast them, and how to blend them. We also cup in our cafes to train our baristas’ palates and introduce our customers to the magic that is specialty coffee.
Here at Greater Goods, we only roast specialty coffee. This means all our coffee grades above an 80 on a 100-pt scale by the Specialty Coffee Association. The people who grade the coffees are called Q Graders; they’re like the sommeliers of the coffee world. Q Graders taste coffee and rate its acidity, sweetness, balance, overall cup quality, and much more. Besides tasting delicious, our coffee was also sourced with an emphasis on social equity and sustainability. Learn more about our sourcing philosophy here.
For y’all at home, cupping is a great way to taste three coffees side by side and discover how truly unique each one can be! It also might be the first step in a future Q certification… Just sayin.
Here’s your step by step guide on how to prepare your table and get to tasting.

Gather your materials
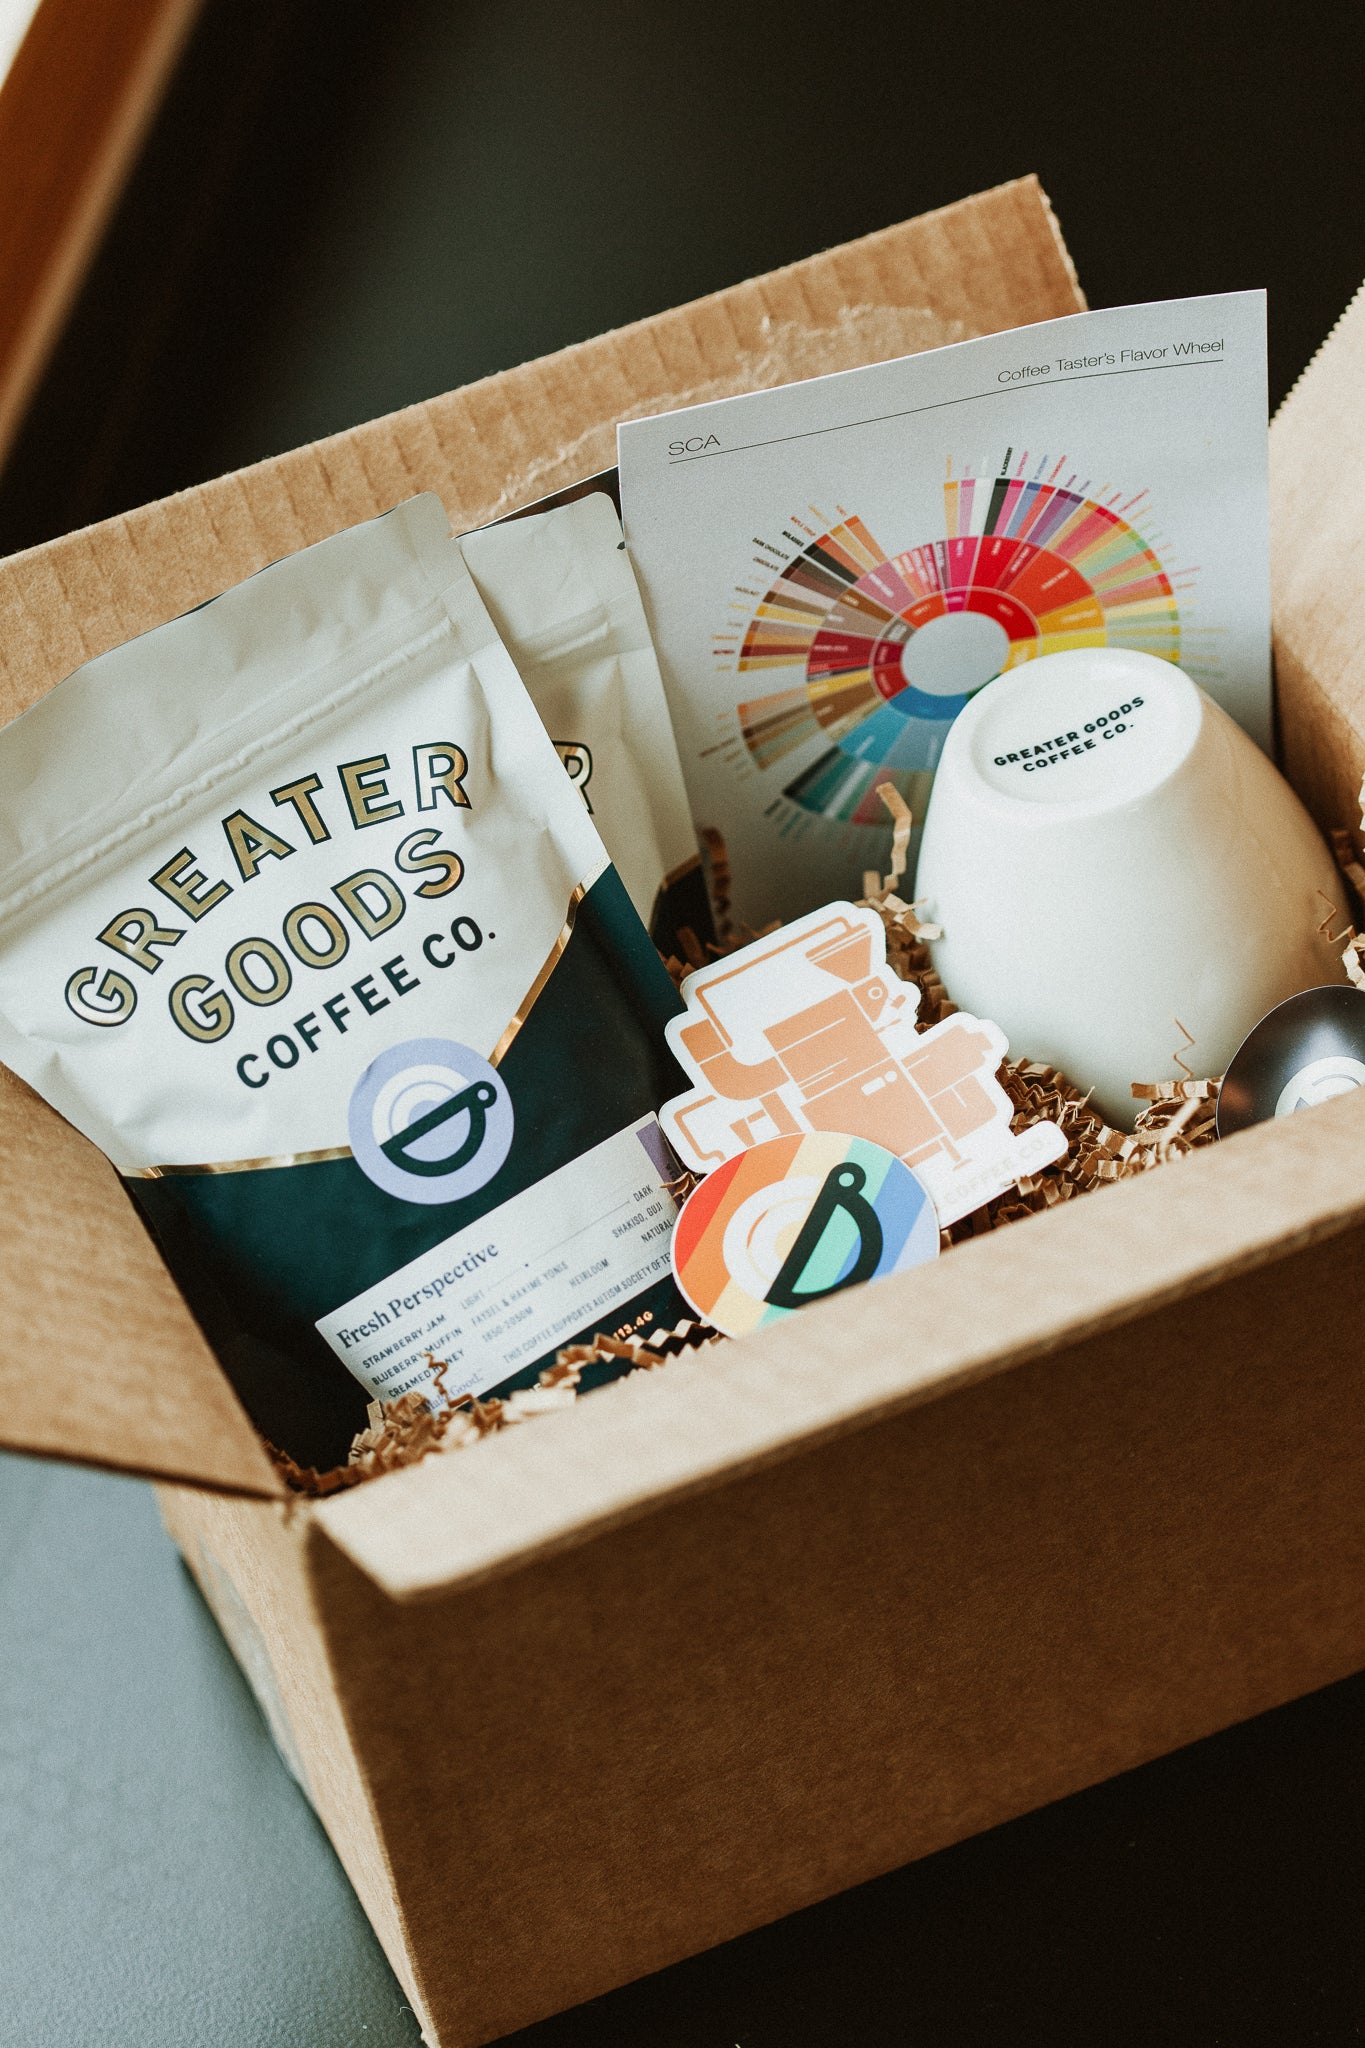
First and foremost, let’s get our mise en place! Unbox your cupping kit, then be sure to have these additional items handy before brewing:
- Filtered water
- Kettle/pot
- (2) additional spoons
- (1) empty cup
- (1) cup of hot water for rinsing your spoons
- Towel (this can get messy)
- Timer or phone
- Scale *optional, but will make things a lot more precise
- Apron *optional, but fashionable
Prepare the cupping table
- Find yourself a well-lit, quiet space with no distractions
- Start heating up a kettle of filtered water to 195-205F (95-96C)
- Place three cupping bowls in a straight line on the table and set each bag of coffee in front of the bowl, organizing them from lightest to darkest roast on the table
- Have your timer, flavor wheel, spoons, cup of water, and empty cup close at hand
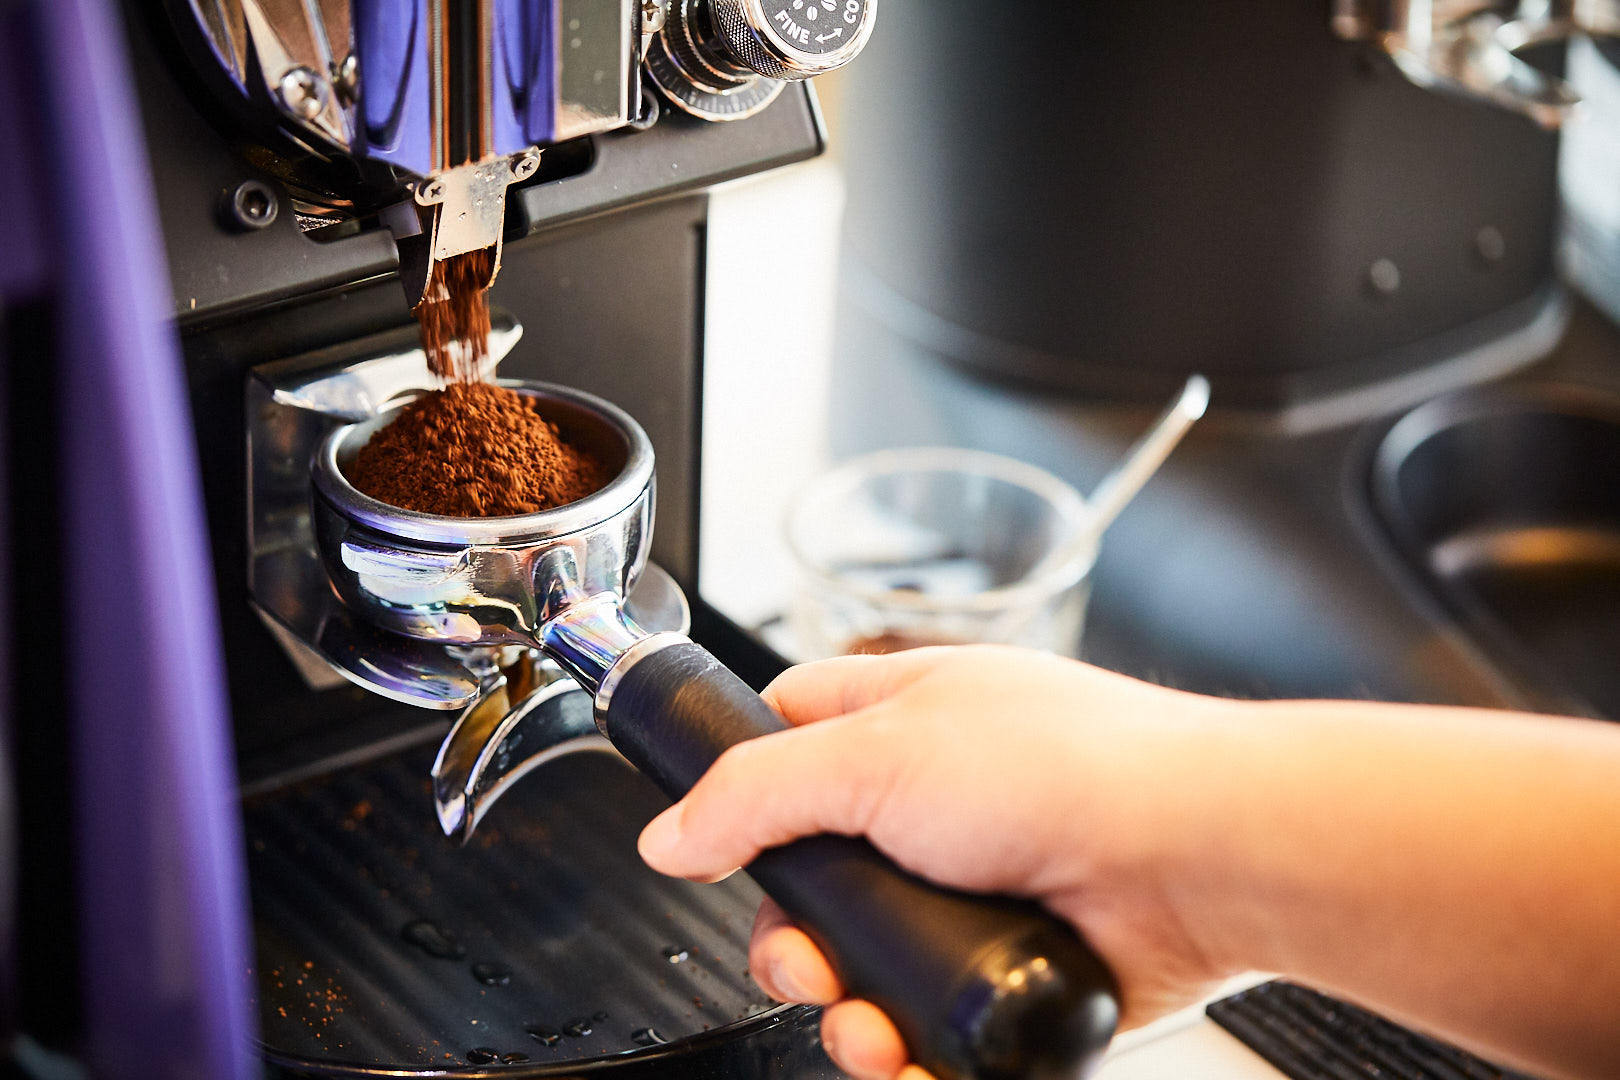
- Carefully measure 12.5g of each coffee, grind on a medium setting, and place inside a cupping bowl. If your coffee is pre-ground, the measurement is still 12.5g or 2 heaping spoonfuls with your cupping spoon. If you are grinding your beans, please be sure to purge your grinder between each coffee so you don’t contaminate the next bowl with the previous coffee.
- Once all of your coffee is measured, ground, and in the bowls, you can start evaluating it!
Assess dry fragrance
Fragrance is the smell of coffee when it’s dry. Pick up each bowl, give it a good shake, and inhale deeply. What do you smell? Is it nutty and mild? Fruit-forward? Maybe a little smokier? Notice how each coffee is different. Which one smells the best to you?
Brew the coffee
It’s finally time to brew these bad boys! Start a count-up timer or stopwatch and carefully add hot water to each bowl, starting with the lightest roast and ending with the darkest. Make sure to fill the bowl all the way and hit any dry pockets. The name of the game is *surface tension*.
Once there’s water in the bowls, please don’t move them! You don’t want to interrupt the brewing process.

Assess aroma
Aroma is the smell of coffee when it’s wet. Lean over each bowl and inhale deeply. What do you smell now? How is it different from the fragrance? Which coffee has the most intense aroma and how would you describe the quality?
Break the crust
By now you should notice a crust has formed on the top of each bowl. This is good! These are the less dense particles rising to the surface of the bowl with the help of carbon dioxide, a natural byproduct of the roasting process.

At 4 minutes, carefully break the crust by dipping your spoon into the surface of the lightest roast and gently pushing the top layer of grinds backward, then around in two circles. Smell the back of your spoon - you’re going to release a lot of great aromas here! Rinse your spoon and repeat the process for the other two coffees.
Skim the grinds
To taste the coffee, we’re going to dip our cupping spoons into the surface of each bowl. But not so fast! We don’t want a mouth full of grinds! We need to clean up that top layer of solid froth. Grab your two additional spoons and gently drag them along the surface of each bowl, removing as much of the residue as you can.
Pro tip: Put the spoons together to make one big spoon, then glide the spoons along the circumference of the bowl starting from the back and moving your way toward your body. Then allow the spoon in your dominant hand to come underneath and lift up. This takes practice and it doesn’t have to be perfect! Your best effort is good enough.

Taste the coffee
Once the coffees have cooled to a reasonable temperature (we like to wait around 9 minutes), it’s time to taste. Gently dip your cupping spoon into the surface of the first bowl, getting about half a spoonful of coffee. Then slurp the coffee from the spoon, aspirating and getting the whole palate involved in the process. Hold the coffee in your palate for a few moments, toss it around with your tongue, then swallow or spit.
The first time you taste the coffee, don’t think too hard. Which one tastes the best to you? Make a mental note, then wait a minute or two and taste again.
As the coffees cool, we’ll be able to taste more of their complexity and dynamics. How would you describe the flavor of each coffee? Use the flavor wheel as a word bank. Now how would you describe the body, texture, or mouthfeel? Which feels the heaviest, like cream? Are any more tea-like?
Continue to taste and focus on different attributes. This is best done with friends so you can compare notes and get calibrated. Y’all might have different favorites, but hopefully everyone can agree which ones are more fruity and which are more chocolatey.

Clean up
After about 25 minutes or so, the coffees begin to flatten out or plateau. Remember there are still grinds at the bottom of the bowls, so it might be a good idea to pour them into a strainer before dumping them in the drain.
You can preserve those spent grounds for composting or an exfoliating face mask! Or you can just toss ‘em. Live your life.
We’d love to chat! Email us at hello@ggroasting.com and tell us what you tasted during your cupping. Cheers!

